Arts and Crafts for Adults: Tying Flies
Summer is fading into fall and soon winter will be arriving in the valley. Anglers will begin chasing fall brown trout while watching cottonwoods morph into colorful works of art before littering the rivers with bright leaves in preparation for winter’s harsh reality. With the cold weather most anglers start to look for other activities to pass the time. Hunting season is in full swing, the mountains are dusted with snow, and football season is upon us. But for some anglers this serves as a time to examine the damage done by a season of fly fishing.
After a long summer of hard fishing most anglers find themselves with a depleted fly box void of their favorite patterns. The winters short days lead to long nights, one way fly anglers fill the time is by sitting down behind their vise sipping their preferred spirit and slowly refilling spaces made empty by trees, rocks, and the “big one” that got away.
If you’ve never tried your hand at tying flies the initial jump can be intimidating to say the least. However, the reward you feel when you land your first fish on a pattern you personally tied is something that every fly fisherman or woman should experience.
Not only will tying your own flies give you something to do throughout the winter months, it will make you a better angler as well. Your understanding of hatches and river entomology will improve with each new pattern learned, along with the time of year each bug is prevalent in our local waters.
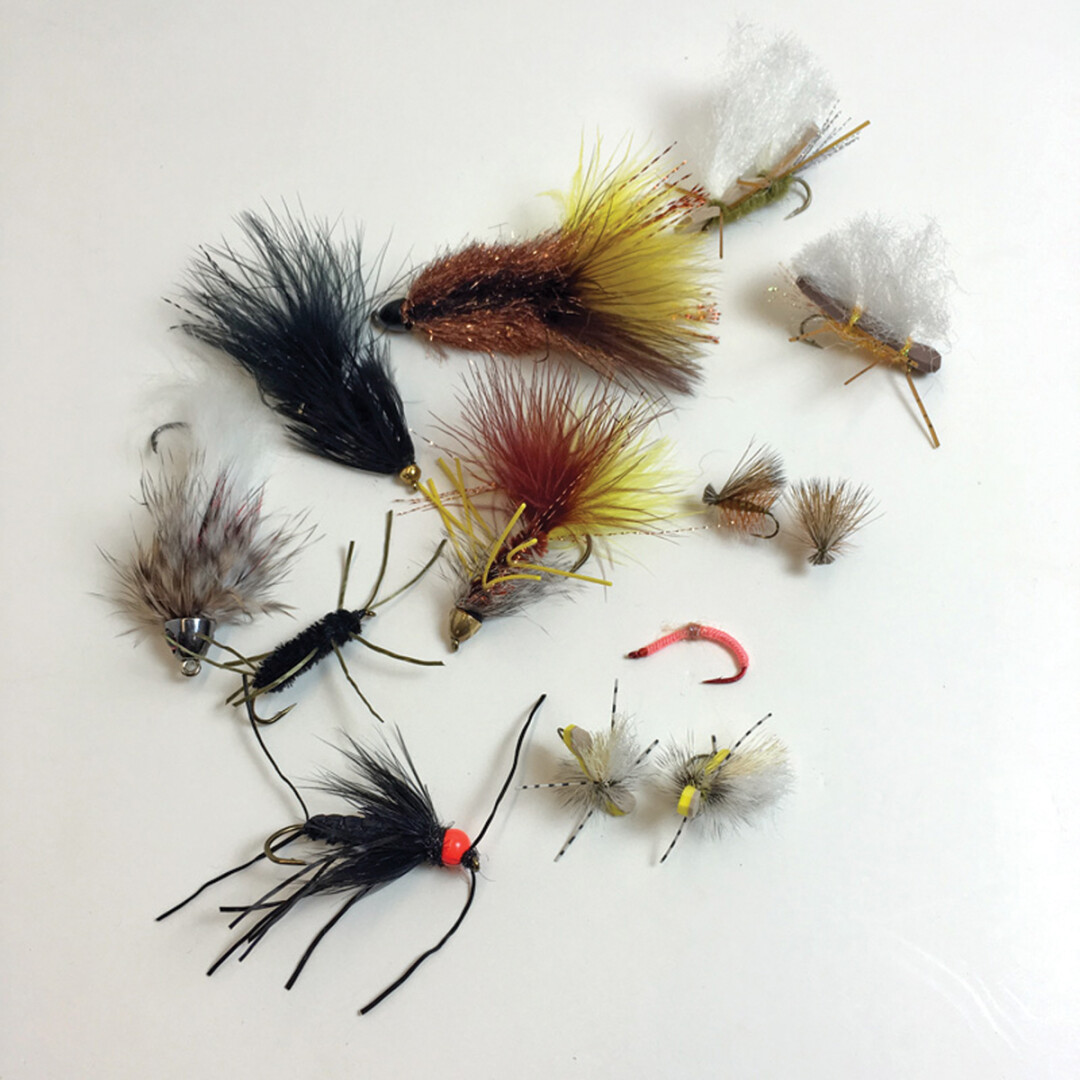
One of the myths about tying your own flies is that it will save you money. This can be true if you are good about sitting down and busting out a dozen of the same pattern and being diligent about how you use your materials. In reality, most fly tyers enjoy the creativity associated with it more than the ability to save a few pennies. Personally I spend time over the winter tying the staples in my box that I know I’ll need a lot of over the summer. Pat’s Rubberlegs, San Juan Worms, Prince Nymph Variations, Chubby Chernobyls, and Caddis patterns are all bugs that I’ll make sure I tie a lot of. Then I’ll spend a lot of time coming up with new patterns and experimenting to find a new fly that I will swear catches more fish than any other.
One of the best aspects of tying your own flies is that you can alter patterns to make them unique. 90% of anglers are fishing store bought patterns (just a guess, don’t quote me on that). If they’re all fishing the same water with the same flies the fish will eventually grow weary of these patterns. If you have the ability to change the color or style of a pattern, or use a different material you can show the fish something that they haven’t seen. I’ll tie Pat’s Rubberlegs in all kinds of crazy color combinations. More often than not they’ll out fish the normal colors of rubberlegs. It’s not because of any skills I have behind the vises, it’s just something new for the fish to look at.
If you’ve ever planned a fishing trip for a different species than you probably know that it can be tough to find the appropriate patterns. Most fly shops in Montana don’t have an extensive selection of saltwater patterns for the Bahamas, and most shops down in Florida don’t have all that many trout flies. Tying your own flies gives you the ability to be prepared for whatever trip you’re going on.
If I’ve made you think at all about getting into tying your own flies, here are a few suggestions to get a solid step forward in the hobby:
Sign up for a local class. Many of the local fly shops offer introductory fly tying classes. These classes allow you to learn from an expert from the very beginning. You won’t learn any bad habits, and your instructor won’t have to break any bad habits you’ve formed if you start tying by yourself.
YouTube is your friend. A few years ago books were the best resource to learn new patterns on your own. These days we have all kinds of YouTube videos showing you how to tie patterns. Books are still a very useful resource but nothing compares to being able to rewind and play videos.
Start small! In the fly shop we see plenty of new fly tyers every year. The first piece of advice we give them is to start small. You don’t need to go and buy every material made right off the bat. We recommend buying material for a pattern or two. Once you’ve mastered these patterns you can pick another and buy the material appropriate for that pattern. Before you know it, your materials will be overlapping and you will need to buy less and less!
Tie big flies first. Don’t pick a size 20 Parachute Trico for your first pattern, the smaller the fly is, the smaller the thread will be, the easier to break, the harder to see etc… Pick some larger sized patterns to start with. Size 6 Wooly Buggers, size 8 San Juan Worms, if you’re going to tie dries or nymphs don’t go smaller than size 12.
Have fun and don’t worry about how your first flies look! Tying isn’t a hobby mastered overnight. I’ve been tying obsessively for a very long time and I’m always learning new patterns and techniques. The beauty of tying flies is that there are always new methods popping up and new ideas being shared, that’s the fun part of it! When you first begin some of your flies may look like a fur ball your cat coughed up. The funny thing is that usually those will fish just as well as any professionally tied patterns, fish aren’t nearly as picky as fly anglers.
Here are the basics necessary to start tying flies:
Vise: There are a heap of different options when it comes to picking a vise. You can spend as little as $50 on a basic beginner vise or over $1000 on a finely machined piece of art. The one attribute I’d recommend is that it is a true rotary vise. This allows you to turn your fly upside down and will greatly improve your tying. Renzetti makes a vise called the Traveler that is reasonably priced and will last you a lifetime.
Bobbin: This tool holds thread, like the phrase implies you’ll be using thread to “tie” your flies, holding material to the hook by wrapping them with thread. This is one of the most used tools right along with scissors.
Scissors: There are infinite options with regards to scissors and every tyer I know prefers a different type for a different reason. Some scissors are designed to stay on your ring finger so you don’t have to put them down, while others are designed to cut certain materials such as deer hair or foam. To start out a standard pair of scissors such as the anvil scissors from Wapsi or even a pair of sewing thread scissors will cut most anything you need.
Whip Finisher: This is the last step in the process of tying flies. You’ve made all the right wraps, the feathers are tied down tight and it looks like an insect any self-respecting trout would eat. The whip finish tool is basically a tool that allows you to do multiple half hitches in a very small space very quickly. As with everything there is in the fly tying world, your options are endless. Small, large, rotating, extended handle, there are a lot of options. I like using a rotating whip finisher, beyond that I think it depends on your preference and what feels good in your hand.
Head Cement or Glue: The absolute final step is to lock down your beautiful whip finish. A dab of head cement or super glue will do the trick. You can get technical and use black head cement, water based, flex seal, or gloss coat head cement, but the age old standard head cement will do the trick for most everything.
Fly tying is a great way to spend down time in the off season while insuring you’ll have plenty of bugs to fish when spring comes around. It’s also a great way to let your creative juices flow and come up with new and exciting patterns fish have never seen before!
In 2015 Jake Adelman was the General Manager at Montana Troutfitters (1716 W Main St, Bozeman, MT) and an alumni of MSU. You can find more of his thoughts on fishing at www.troutfitters.com


